Integrating the OneLogin SSO with the Video Platform allows users to login into the Video Platform with their OneLogin accounts.
Adding YuJa to OneLogin as an Application
The first step is to register YuJa in OneLogin as one of the Applications.
- Log into the OneLogin Admin account, then click on Administration on the top right.
- From the Applications menu, click on Applications and choose Add App.
- Next, enter YuJa in the search bar and choose YuJa from the search results.
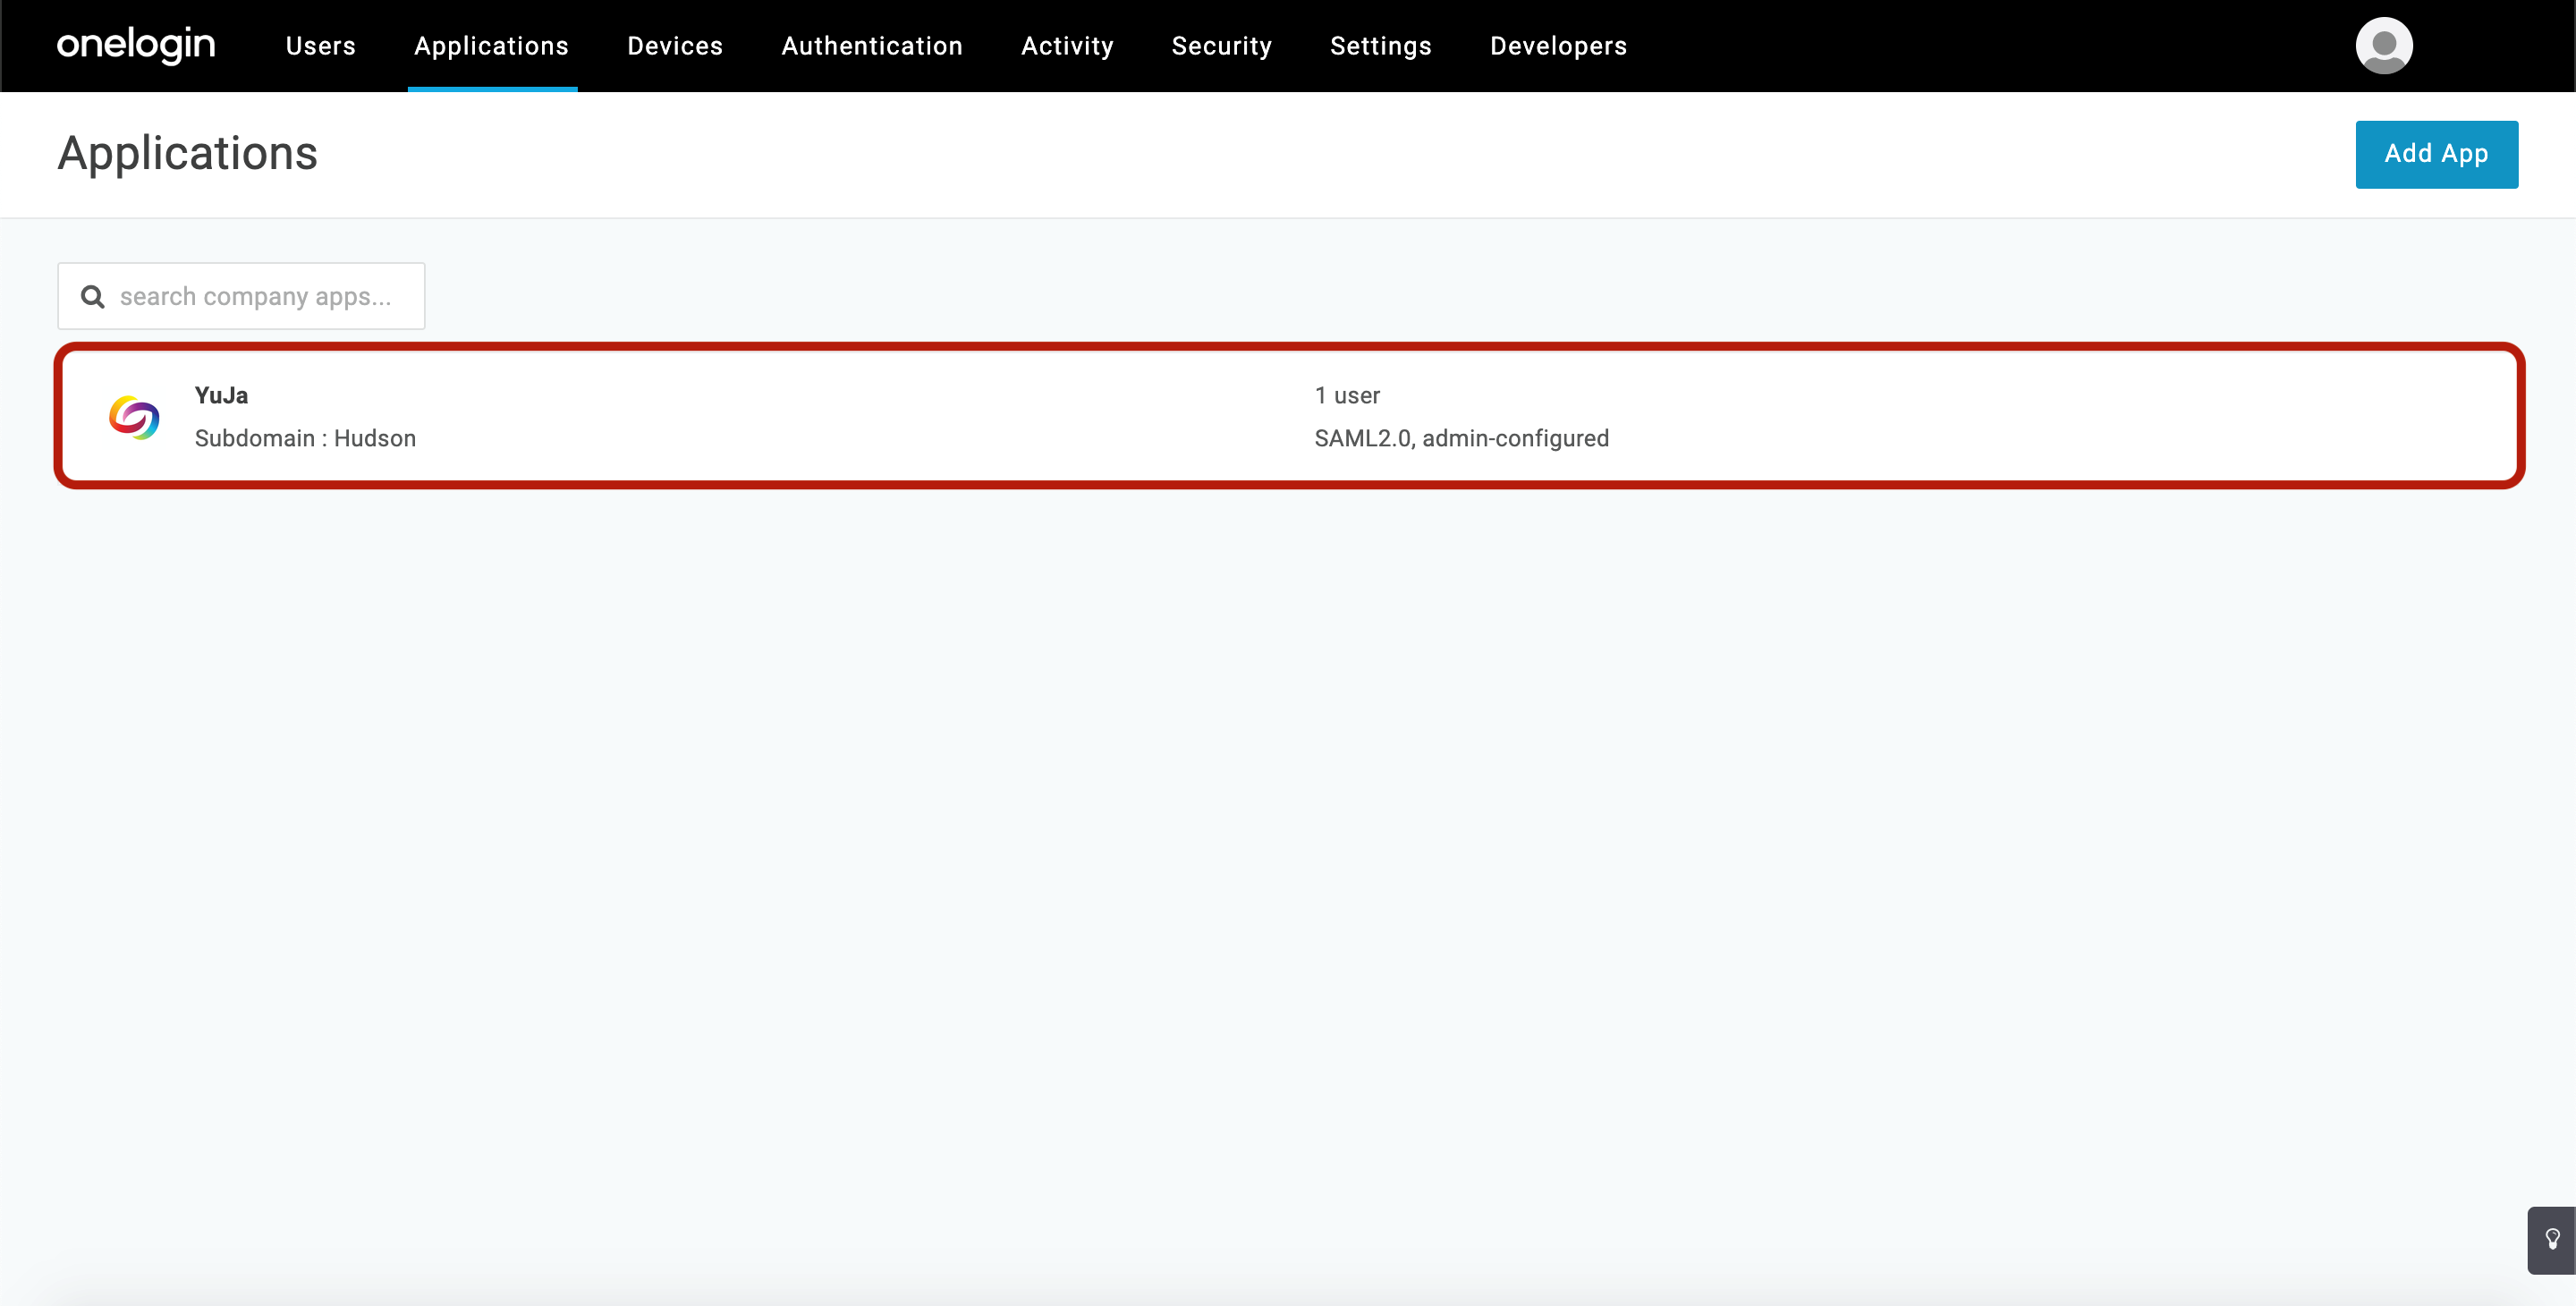
- Enter the desired name for your organization YuJa app, then click Save. The Video Platform application will now show up in the Applications window.
Creating OneLogin Certificate Thumbprint
The next step is to generate an ADFS Signing Certificate Thumbprint for the Video Platform application in OneLogin.
- From the Administration window, click on Security and choose Certificates.
- Click on New to create a new Certificate.
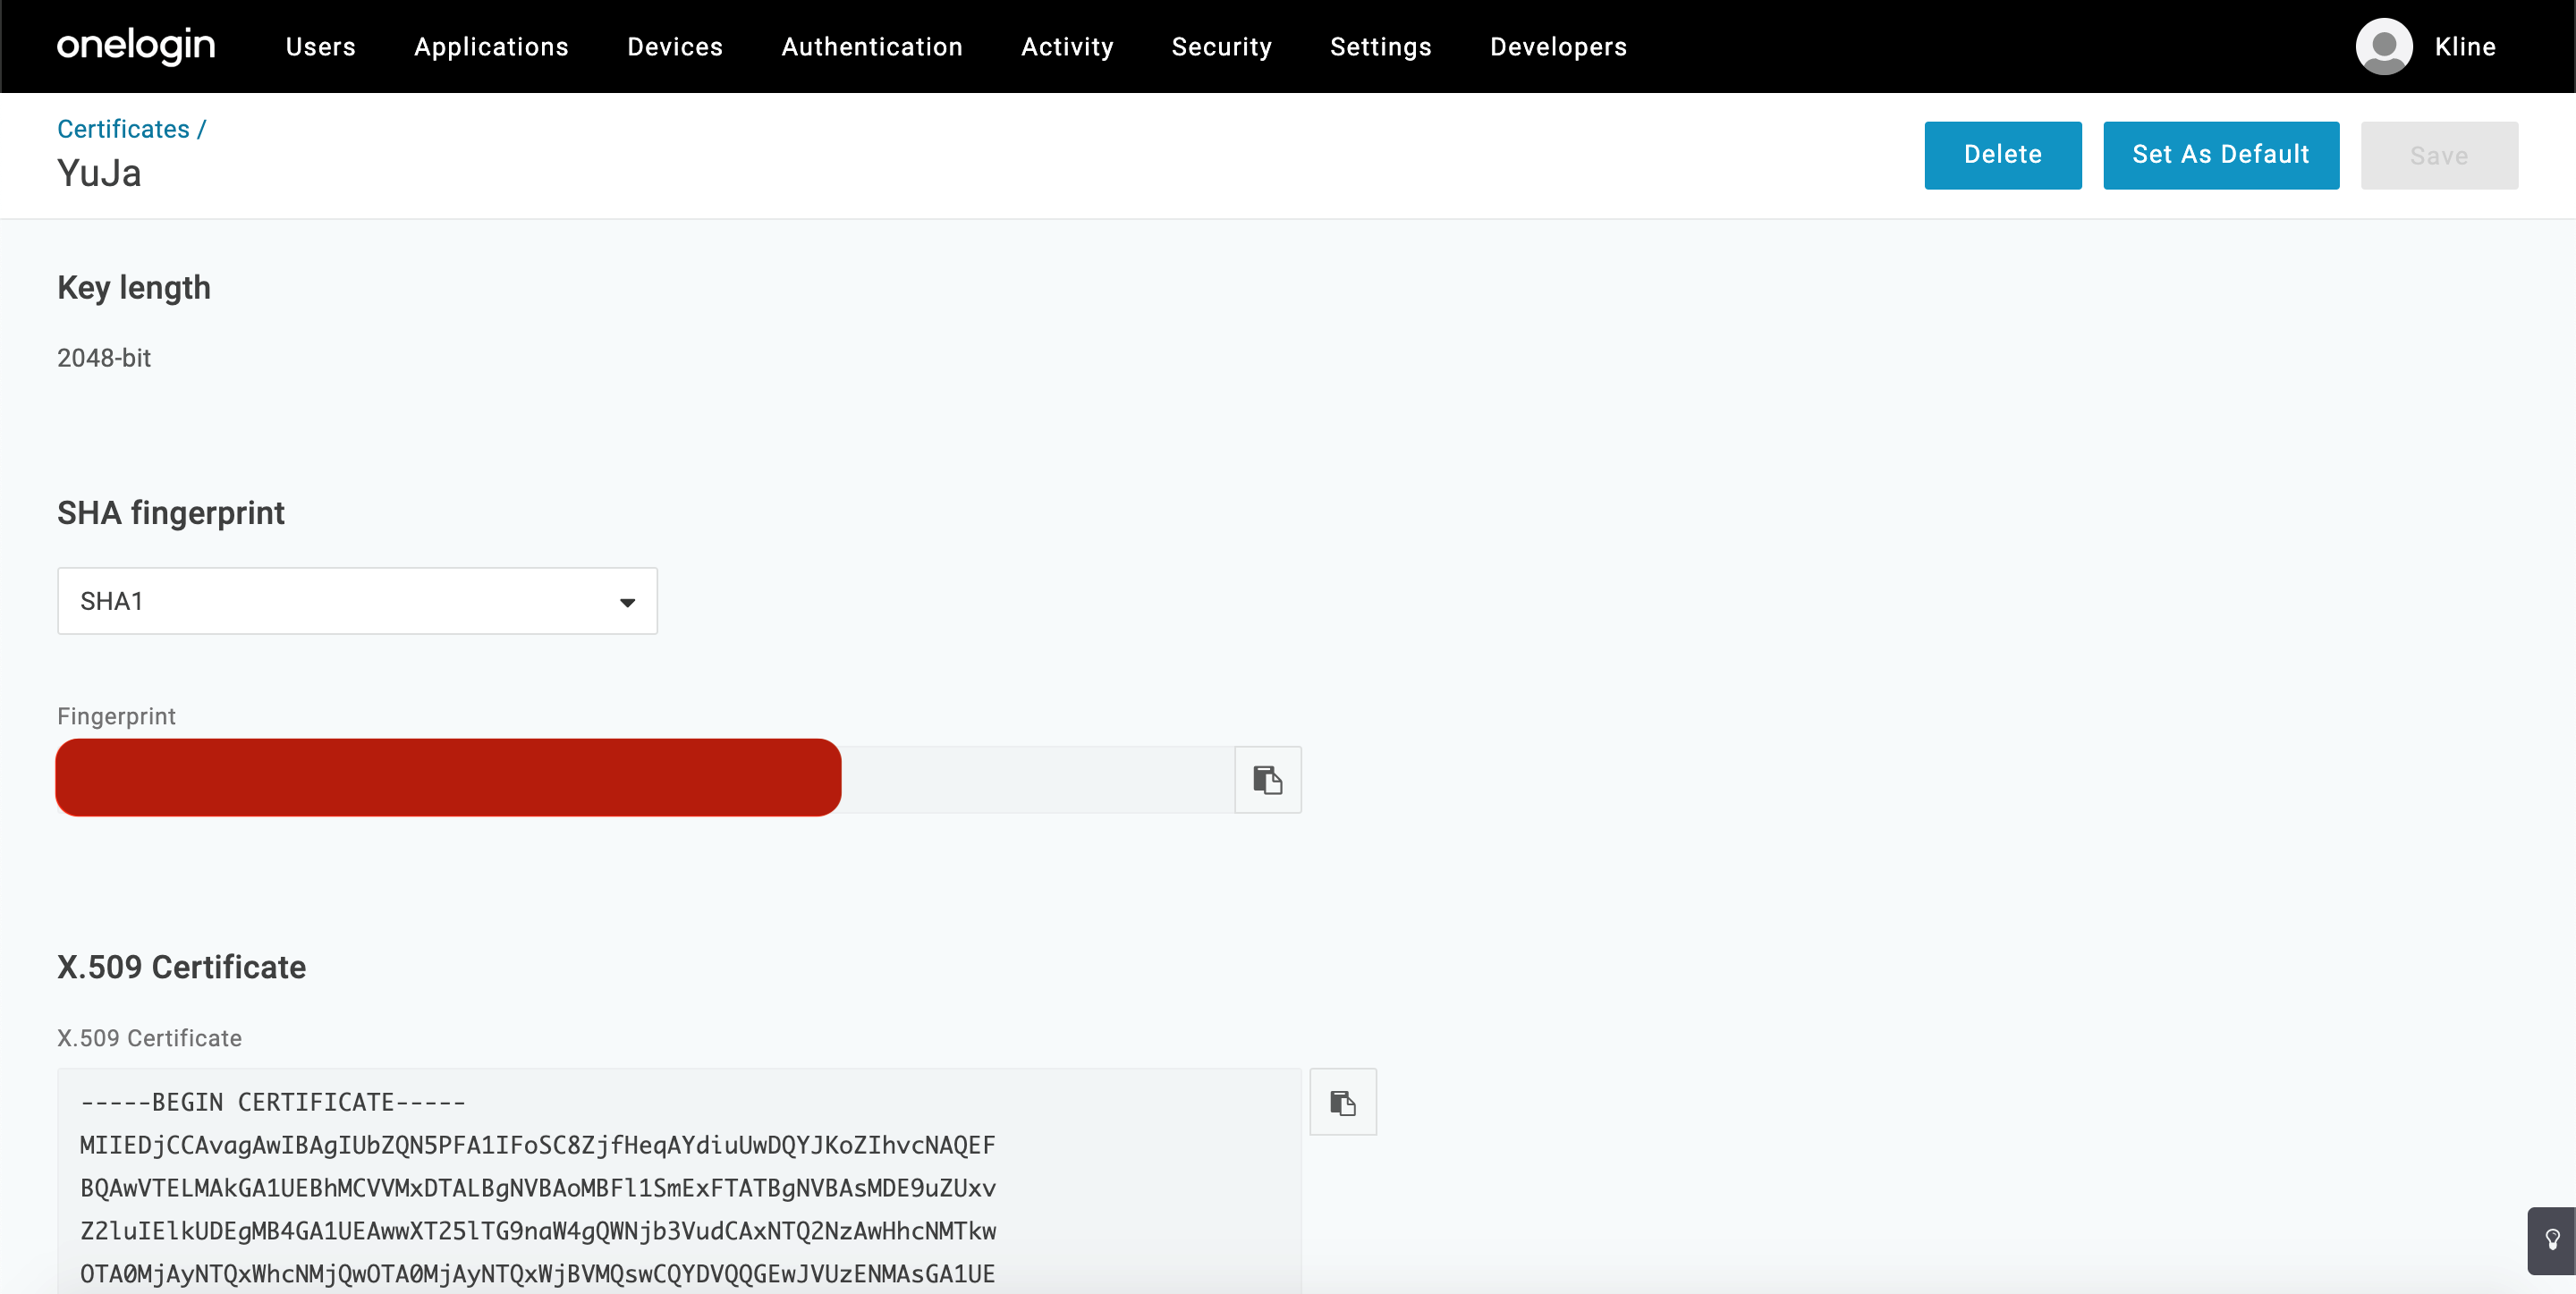
- Enter the following information for the Certificate then click Save.
Name: YuJa
Key Length: 2048
Signature: SHA1
Expiration: 5 Years - From the following window, copy down the Fingerprint to use it in the next step.
Integrating OneLogin into the Platform
The last step is to integrate OneLogin into the Platform.
- In OneLogin, click on the YuJa Enterprise Video Platform app under the Applications window.
- Under the Configuration tab, enter the sub-domain <YOUR-INSTANCE> from your organization’s Video Platform’s Instance URL https://<YOUR-INSTANCE>.yuja.com then Save.
- In the Parameters tab, add the following custom parameters and ensure to check Include in SAML assertion for each then Save.
Field Name: Email, Value: Email
Field Name: FirstName, Value: First Name
Field Name: LastName, Value: Last Name
Field Name: Role, Value: Title - Choose the SSO tab. Under the X.509 Certificate, click on Change and select the YuJa certificate created in Section 2 above then Continue.
- Copy down the SAML 2.0 Endpoint (HTTP) URL for later use.
- Log into the Video Platform with an Admin account, then go to the Admin Panel.
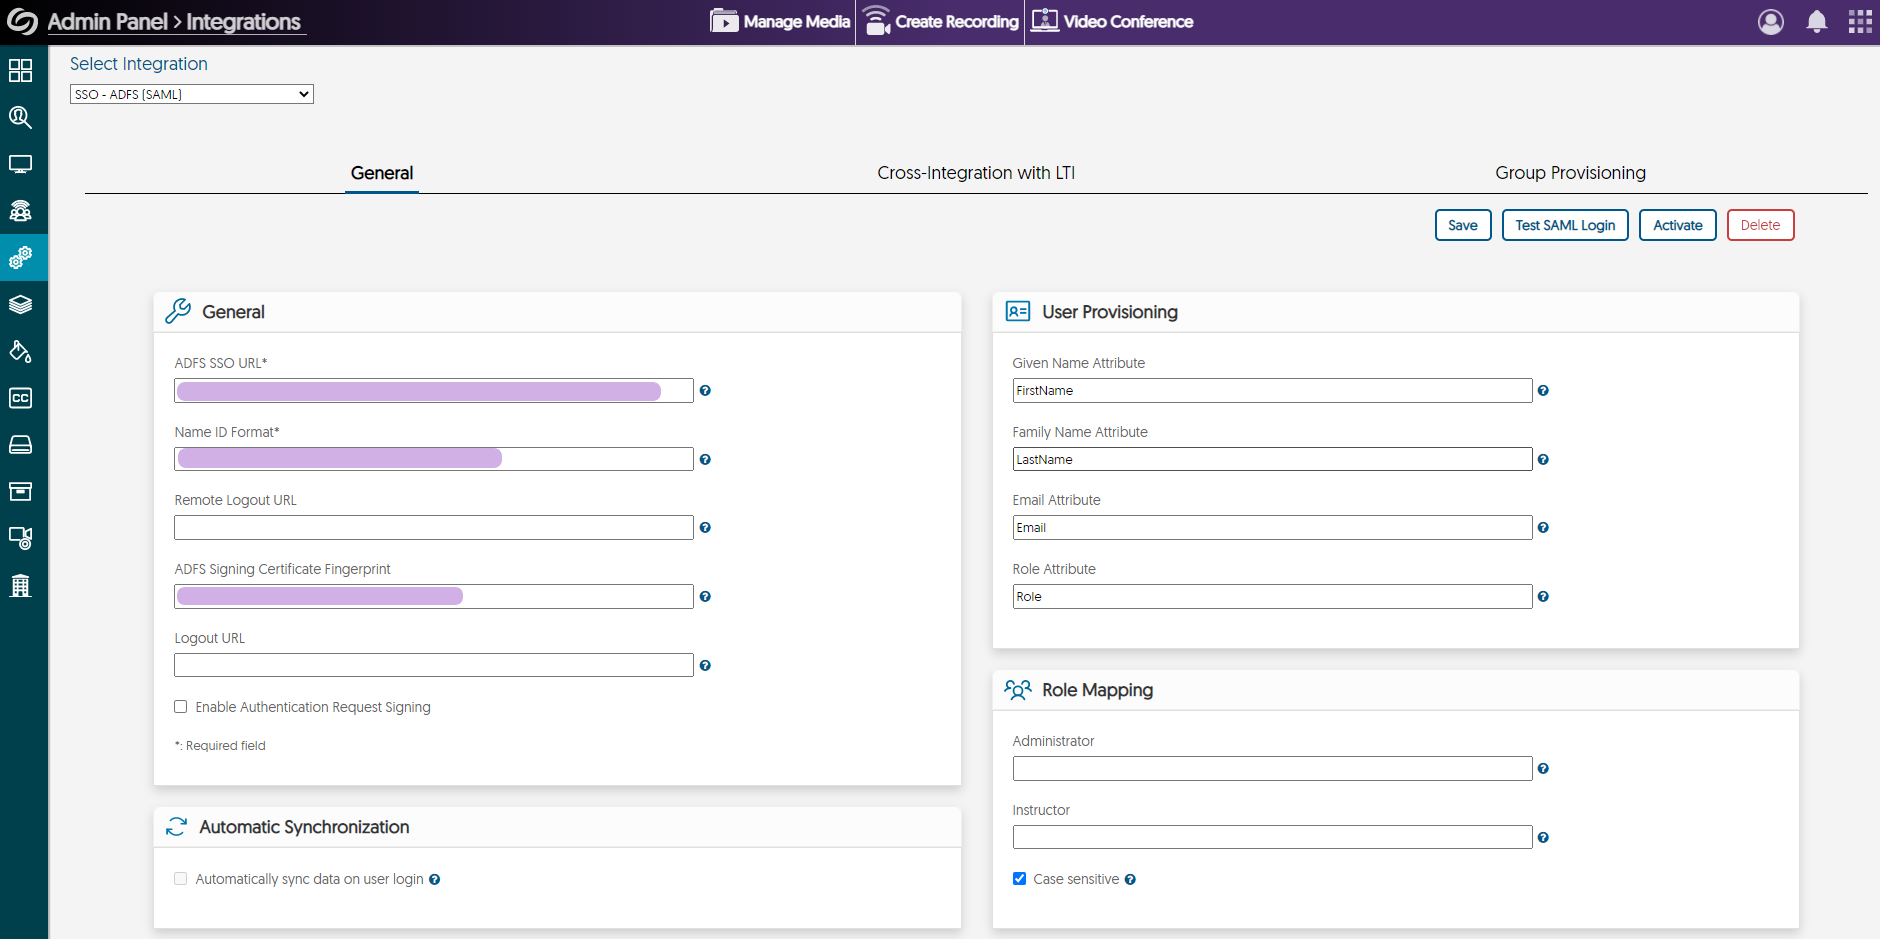
- Choose Integrations, then select SSO – ADFS (SAML) from the Select an API to Configure dropdown list.
- Fill in the information as follow then click Save. You can click on Test SAML Login to ensure everything is working correctly.
ADFS SSO URL: Obtained in Step 5.
Name ID Format: urn:oasis:names:tc:SAML:1.1:nameid-format:emailAddress
ADFS Signing Certificate Fingerprint: Obtained in Section 2.
Given Name Attribute: FirstName
Family Name Attribute: LastName
Email Attribute: Email
Role Attribute: Role - Head to the top right of the page and click on Save and Activate to enable SSO for your organization. From your organization’s URL, you can choose the SSO option from the Login dropdown list.